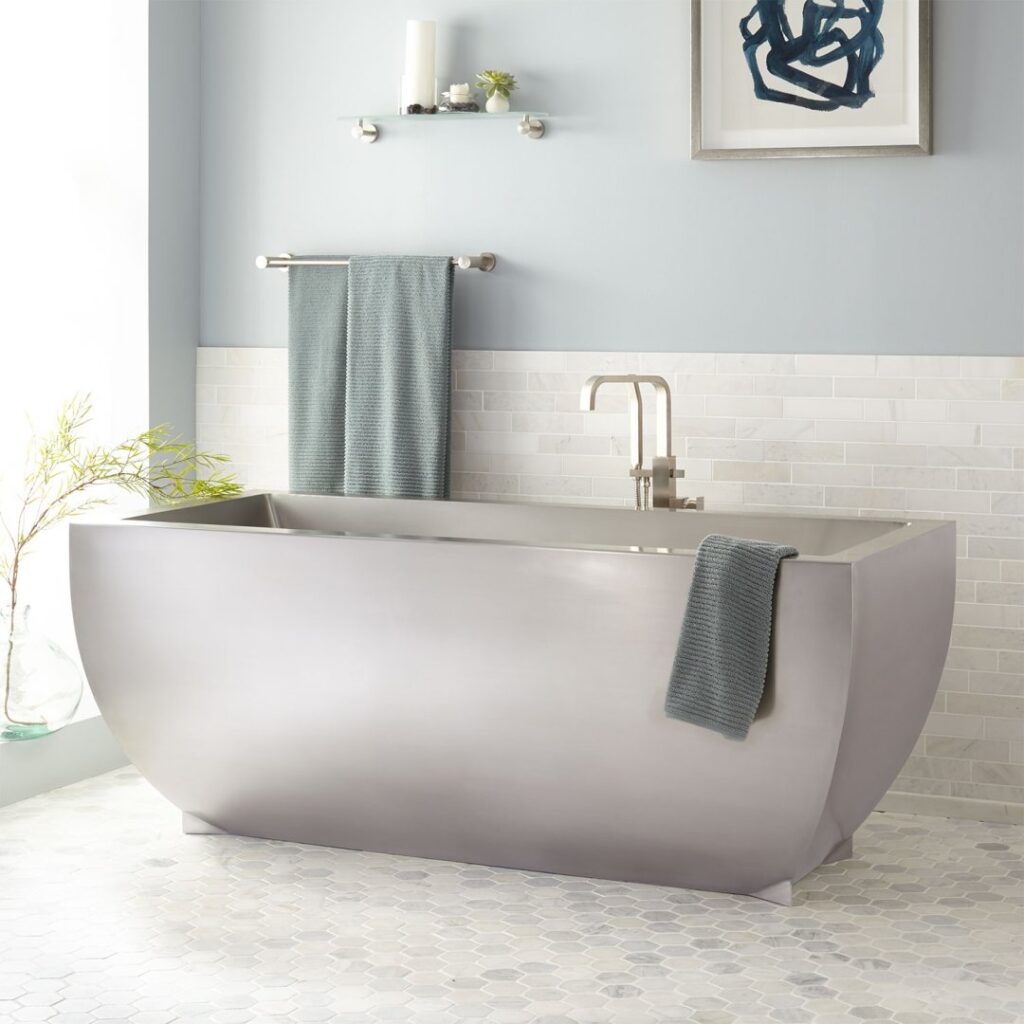
Your bathroom reflects your personality and style. So, you want to achieve perfection with it both in terms of aesthetics and functionality. However, there are many ways to do it. You may plan to replace bathroom fixtures to bring a new feel to your bathroom or simply want a bathtub paint as it draws the most attention. If you don’t want to spend a lot of money and make some refreshing change in the bathroom, then DIY painting a bath can be great to add some color. But whether you can paint your bath or not depends on its material. The most common bath material suitable for paint is Acrylic and cast iron.
In this blog, we will discuss the possibility of painting an acrylic bath and a few tips on doing it perfectly as a DIY project.
Painting Acrylic Standard Batht Vs. Bathtub Replacement.
If you want to give your acrylic bath a new look, then replacement rather than paint can also be an option for you. Generally, a bathtub will cost you around £100 while the paint may also be the same. So, why not you should replace a bath. The thing is that when you consider a bathtub, there is not just a bath price involved. You will have to pay for a delivery and removal/ installation cost taking these costs to more than double the unit price, so it may not be an economical solution or option for most of us. Therefore, painting a bath seems like the most appropriate option.
Painting an Acrylic Standard Bath.
In order to paint an acrylic bath, you will need to follow these steps.
Step 1. Prepare the Standard Bath Surface for Paint.
The first step to painting a bath or any other surface is to remove any already existing caulk or residue inside and around the surface area of paint. You may also notice some soap build-up that is required to be cleaned. You can use a putty knife or any similar tool to remove the cloak. While for, soap residues can be removed with simple sponge cleaning. After your surface is completely clean, the next step will be to start repairing where required. You may use a bath repair kit to fill any gaps and big scratches over the surface. You should cover the bath filler taps, surrounding walls, and any fixtures around as an extra precaution.
Step 2. Painting The Acrylic Bath.
Once surface is ready and you have the paint available, the actual paint process can be initiated. Depending on the type of paint that varies due to drying time, you may need to work fast painting the surface. Therefore, you should always read the instruction manual that comes with a paint for the direction of the pain. To keep yourself safe, try to keep the area ventilated as the chemical fumes from the paint can be uncomfortable. It is better to start your paint from the bottom and then go for the other parts. The top and front parts should on the last. Whether you choose to spray the paint with a gun or stroke with a brush, you will need multiple coats to give it a full color.
Step 3. After Paint Care.
You should complete one coat and let it dry for a few hours. Then you can start another coat on it. It is important that you make sure that the surrounding walls and taps are not affected by the paint. It is always better completely remove the taps as once the pain leaves a mark on it, the removal process will be difficult and time-consuming and may damage the finish. Once you are done with coating, you should remove the wall covering or any other surface around. You will need to let it dry for at least 24 hours before the start to use it again. The wall and shower area may need to conceal with silicone caulk or watertight gel. You will need to avoid using any harsh chemicals on the bathtub surface to avoid any damage to the surface.

Few Other Tips for Perfect Acrylic Bath Paint.
Although painting a bath may seem like a simple task, it is important to strictly follow the instructions to avoid any unpleasant situation. First, you should keep in mind that paint quality will have a big role in offering you the finish you have. Moreover, if you want a perfect look for the bath, then it is recommended that you choose a spray gun. It will create a highly professional appearance. If you don’t have a spray gun available, then you may plan to rent it for a day. However, you must keep in mind that such a spray gun will need to be used carefully as it may leave spray marks around as it and can be messy. A paintbrush or roller may already be in your cupboard and easier to use but may not give a perfect finish.

